Configuring Information Articles
Information Articles let you provide guidance, policies, or resources to different audiences. You can design content for System (landing page) articles, Reporters (e.g. FAQs) and Managers (e.g. HelpDesk).
'System' Tab
1. Navigate to your dashboard
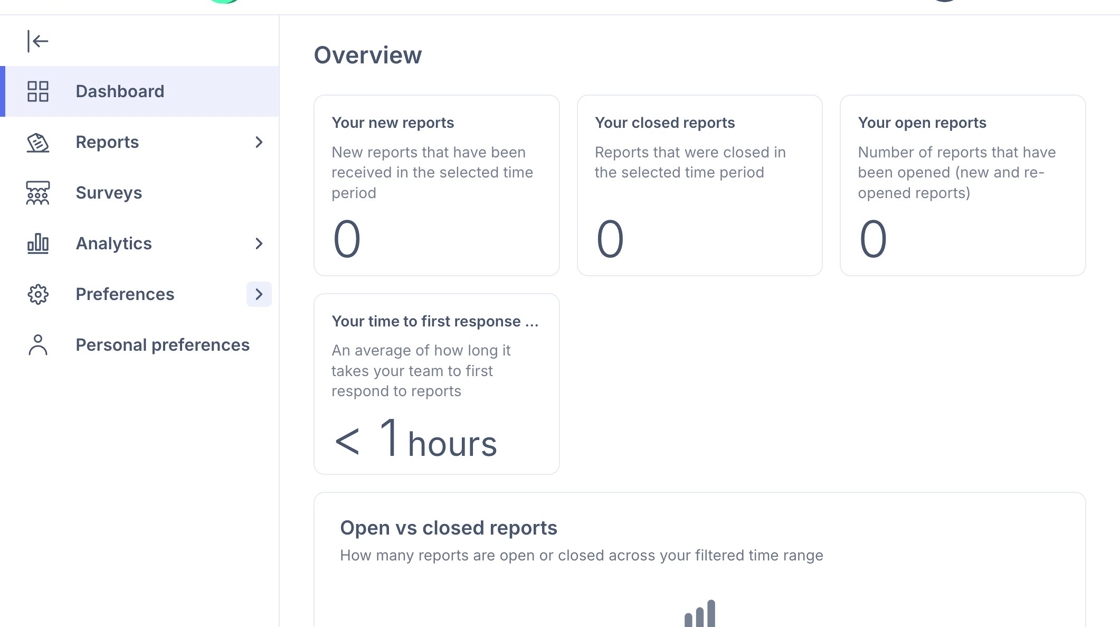
2. Click "Preferences"

3. Scroll down to the subheading 'Configuration' and click on 'Information Articles'

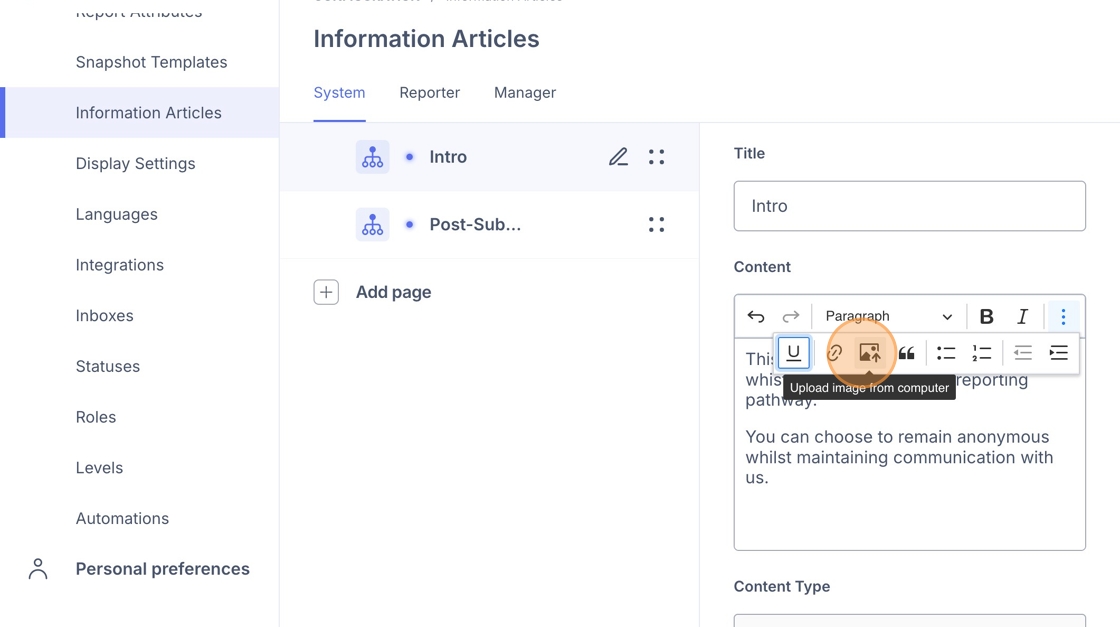
4. Under System, hover over 'Intro' and click the pencil icon.
Here you can edit the Title and the Inroduction text that will apear on the landing page of the reporting pathways.

Adding an Image
5. Under ‘Content’, click the three dots to access more options — you can add a link, image, or video.
To add an image, select the Image icon and choose the file from your device to upload."
6. You can then edit the image size, location on the page and alignment with text.

7. When you are finished, scroll down and click 'Submit'.

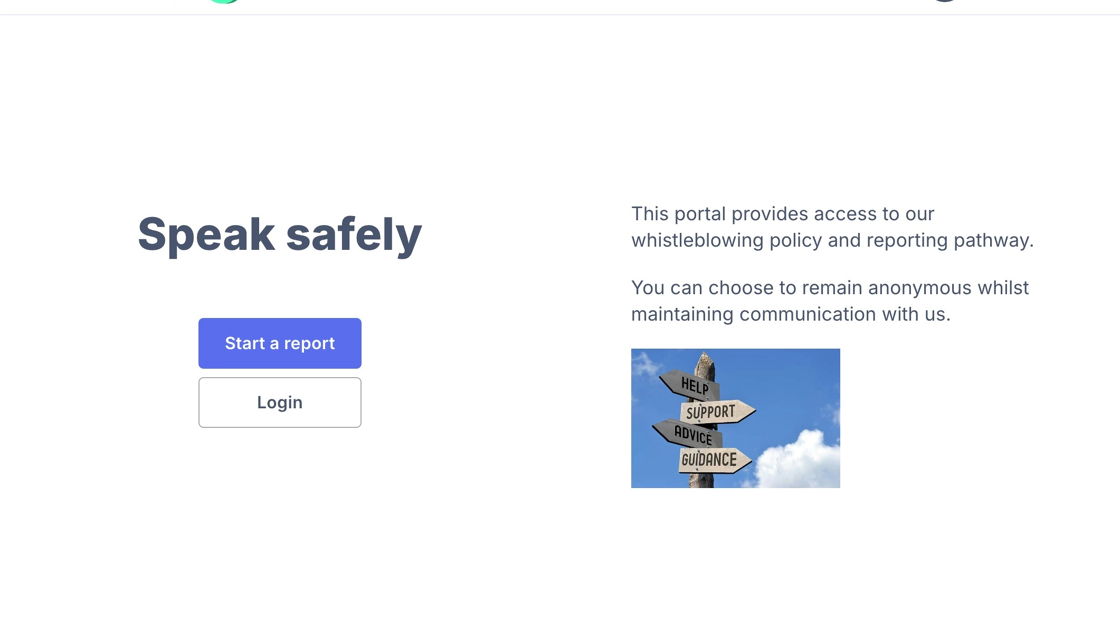
8. Use the provided landing page URL to view your page as a user will see it.
Check that text is readable, images display correctly, and links work.
Adding a Link
9. To add a link to the landing page, start by highlighting the text you want to hyperlink.
Click the three dots and choose the paperclip icon.
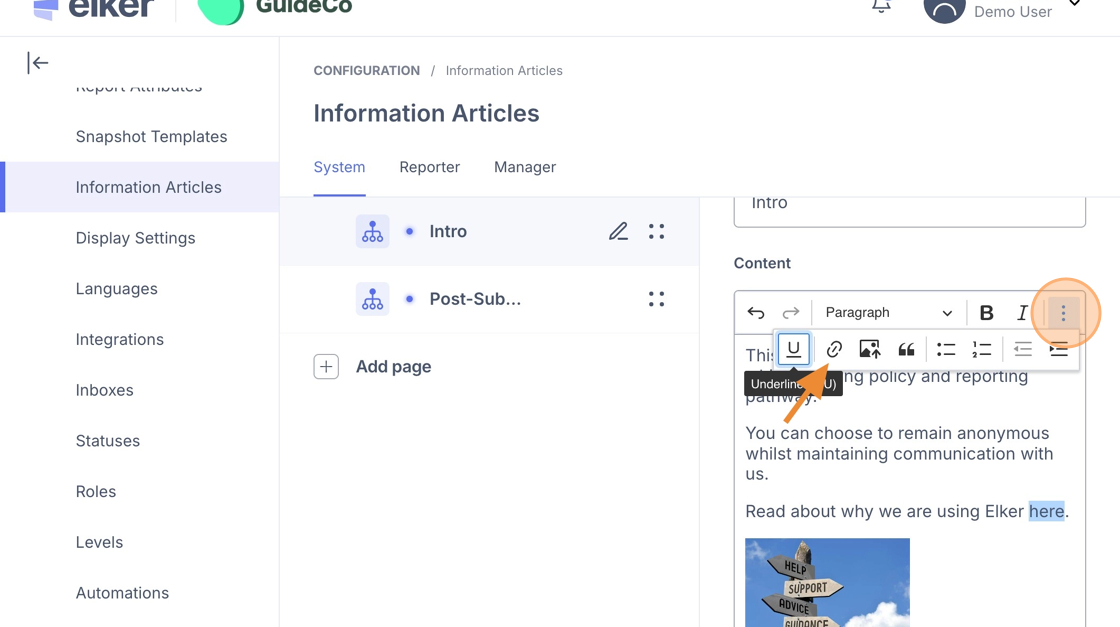
10. Paste your link in the box that appears and click the green tick to confirm.

11. You can then edit the link or unlink if required.

12. Click "Submit" to save changes.

13. Navigate to your live landing page.
You should then be able to view the changes and test the link works.

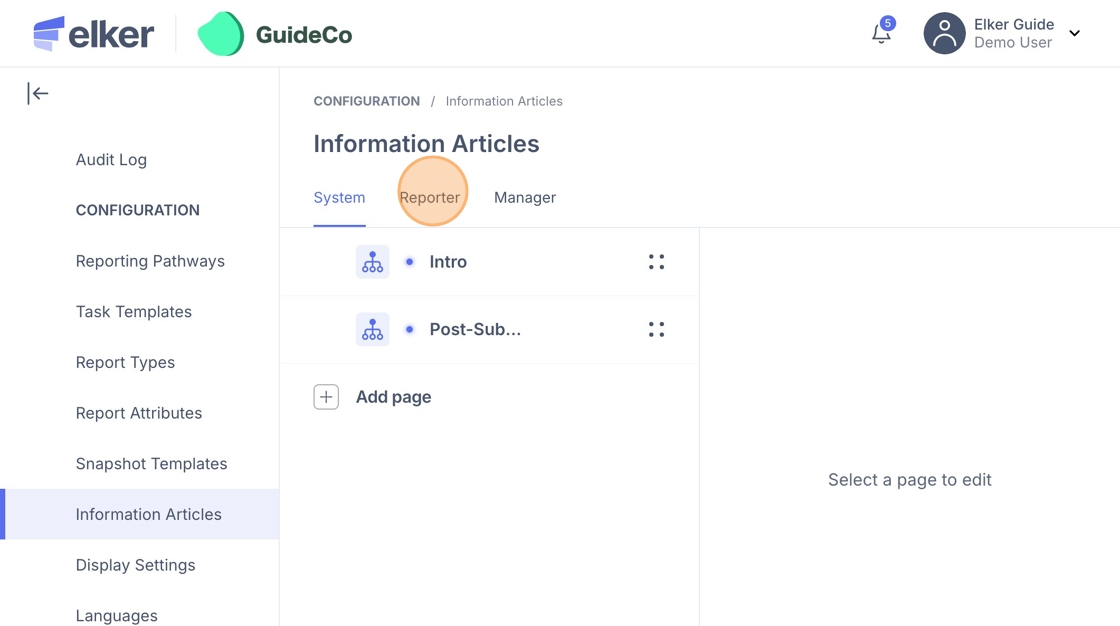
'Reporter' Tab
14. Click "Reporter"
15. Click 'Add Page'

16. Here you can add:
- Title: The main heading of the article — shown at the top when someone opens it
- Content: The body text of the article — this is where you add your guidance, policies, or support information
- Menu Title: The label that appears in the navigation/menu bar. Keep it short.
- Visibility: Controls whether the article is visible to users. Toggle on to publish it, toggle off to hide it without deleting.
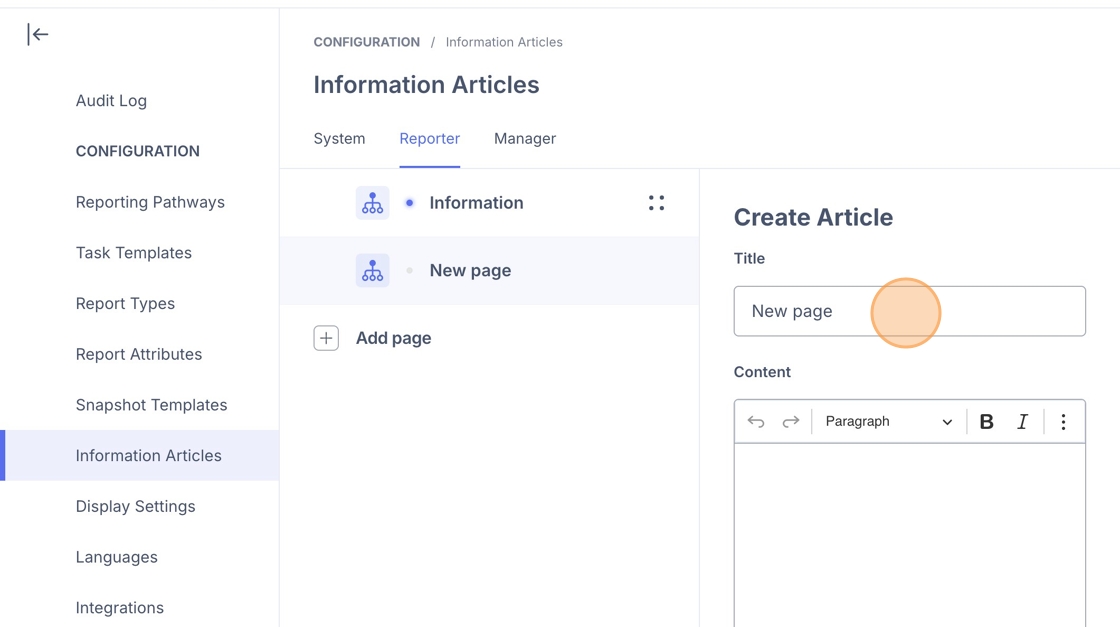
17. Click "Submit"

18. Navigate to the reporter landing page to preview how the updated content will appear to users.

Tip: Tip! Tip: If you add more than 3 Reporter articles, they may collapse into a “Resources” dropdown automatically.
'Manager' Tab
Tip: Tip! Use Manager content for internal help, guides, or escalation instructions.
19. Click "Manager"

20. Click 'Add Page'

21. As per the Reporter Tab, you can add the following fields:
- Title: The main heading of the article — shown at the top when someone opens it
- Content: The body text of the article — this is where you add your guidance, policies, or support information
- Menu Title: The label that appears in the navigation/menu bar. Keep it short.
- Visibility: Controls whether the article is visible to users. Toggle on to publish it, toggle off to hide it without deleting.

22. Click "Submit"
