Create an Out of Office Schedule
This how to guide shows how to set schedules for once-off specifc times/all day as well as repeating weekly.
1. Navigate to https://[yourcompany].elker.com/users/sign_in
2. Enter your login details

3. Click "Login"

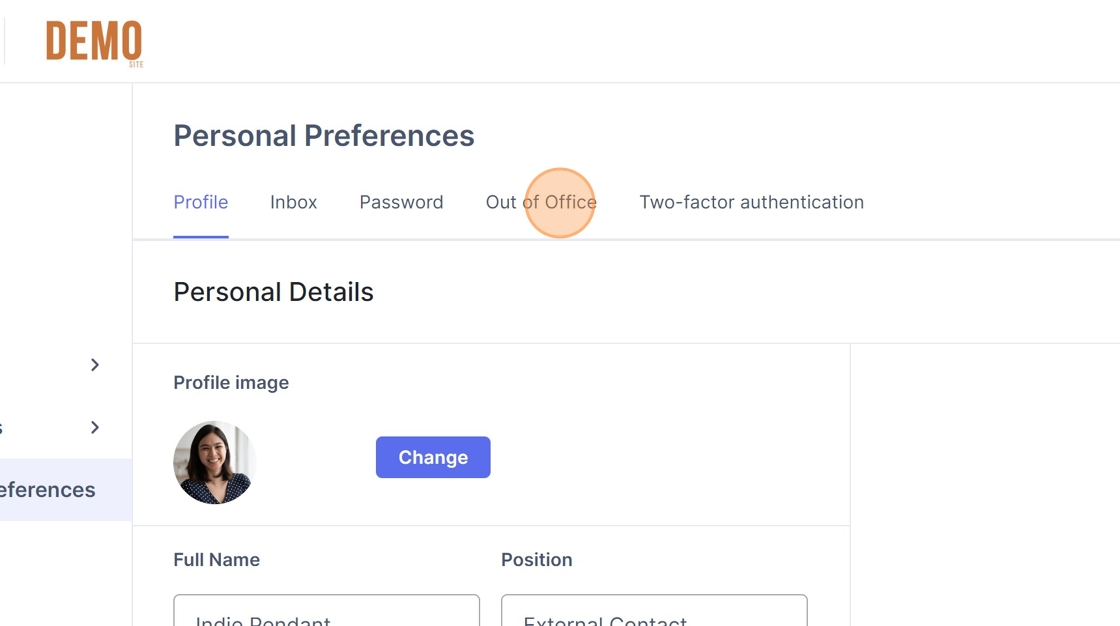
4. Click on your profile

5. Click "Preferences"

6. Click "Out of Office"
7. Click the OFF button to ON.

Alert: Alert! If this is switched to OFF, all the schedules you create will not be visible to reporters.
How to create a one-off schedule - specific times
8. Click "Create new schedule"

9. Click this dropdown.

10. Click "Do Not Repeat"

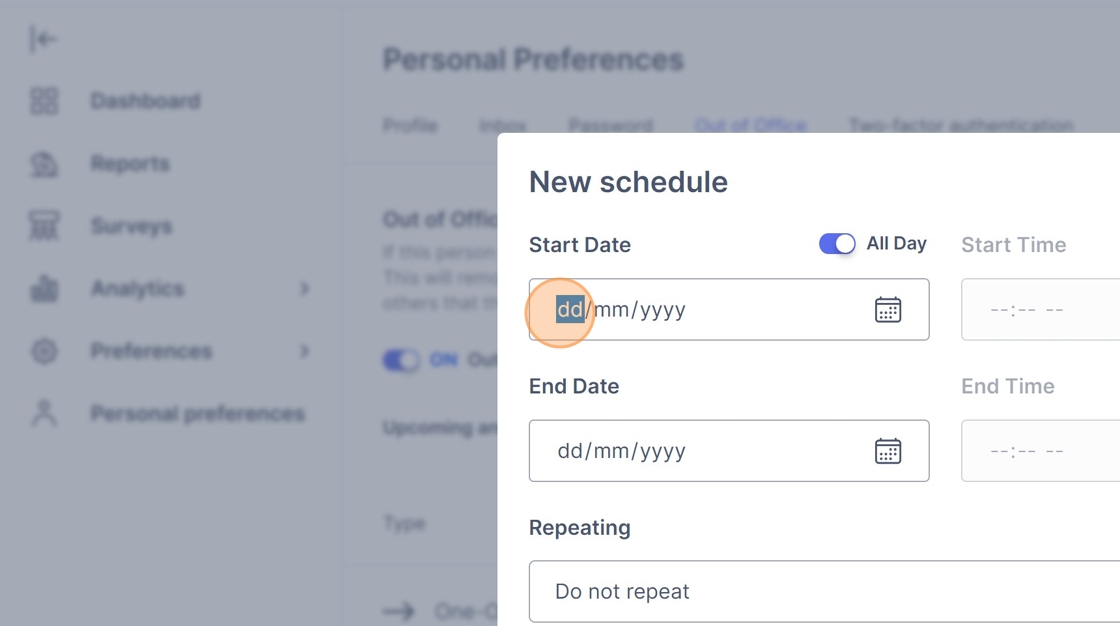
11. Click the "Start Date" field.

12. Type in your start date and start time.
Tip: Tip! Reporters will only be able to see your away dates during the two days leading up to your start date, as well as during your away period.
13. Click the "End Date" field.

14. Type in your end date and start time.
15. Click "Save schedule"

How to create a one-off schedule - "all day"
16. Click "Create new schedule"

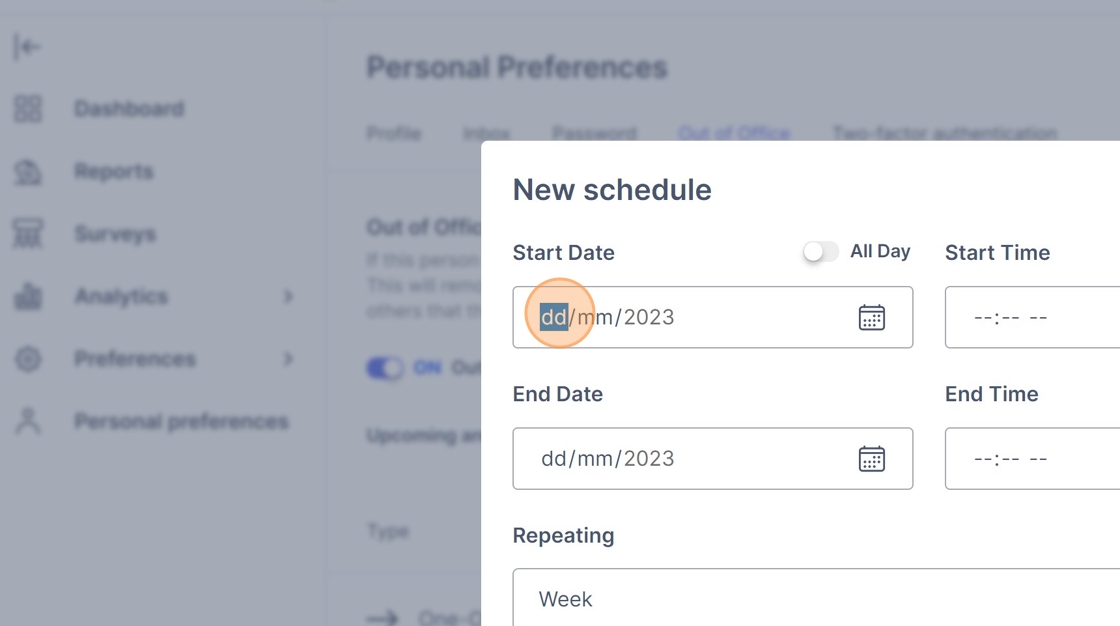
17. Click the All Day button.

18. Enter your start date.
19. Enter your end date.

20. Click "Save schedule"

How to create a repeating schedule - weekly
Alert: Alert! With repeating schedules, reporters will only be able to see your away dates during the day before your start date, as well as during your away period.
21. Click "Create new schedule"

22. Click the drop down.

23. Click "Week"

24. Click the "Start Date" field.
25. Enter your start date.
Tip: Tip! Repeating weekly unavailabilities will always repeat on the day of the week you set. E.g. 3/11/2023 is a Friday, so it will repeat weekly on Fridays.
26. Click the "Start Time" field.

27. Enter your start time.
28. Click the "End Date" field.

Tip: Tip! The end date is the length of your weekly unavailability. E.g. You are away the Thursday (start date) to Friday (end date) of every week.
29. Enter your end date.
30. Click the "End Time" field.

31. Enter your end time.
32. Click "Save schedule"

How to create repeating schedule - daily
33. Click "Create new schedule"

34. Click the drop down.

35. Click "Day"

36. Click the "Start Date" field.

37. Enter your start date.
38. Click the "Start Time" field.

39. Enter your start time.
Tip: Tip! With daily repeating schedules, this unavailability will display for every day of the week. E.g. If you input 9am-12pm, reporters will see that everyday you are unavailable during those times.
40. Click the "End Time" field.

41. Enter your end time.
42. Click "Save schedule"

How to create repeating schedule - monthly
43. Click "Create new schedule"

44. Click the drop down.

45. Click "Month"

46. Click the "Start Date" field.

47. Enter your start date.
Alert: Alert! Repeating monthly schedules currently repeat on the date, not the day of the week. E.g. Unavailable 3rd Nov will repeat on 3rd Dec and 3rd Jan etc.
48. Click the "End Date" field.

49. Enter your end date.
Tip: Tip! The end date is the length of your monthly unavailability. E.g. You are away the 1st to the 2nd of every month.
50. Click the "Start Time" field.

51. Enter your start time.
52. Click the "End Time" field.

53. Enter your end time.
54. Click "Save schedule"
