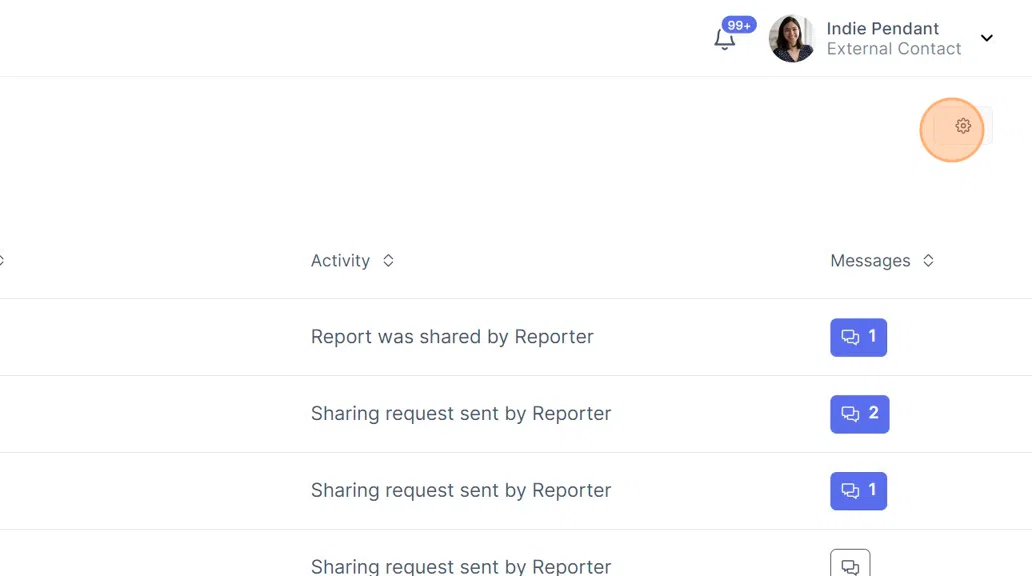
Displaying and Sorting Reports
1. Click "Reports"

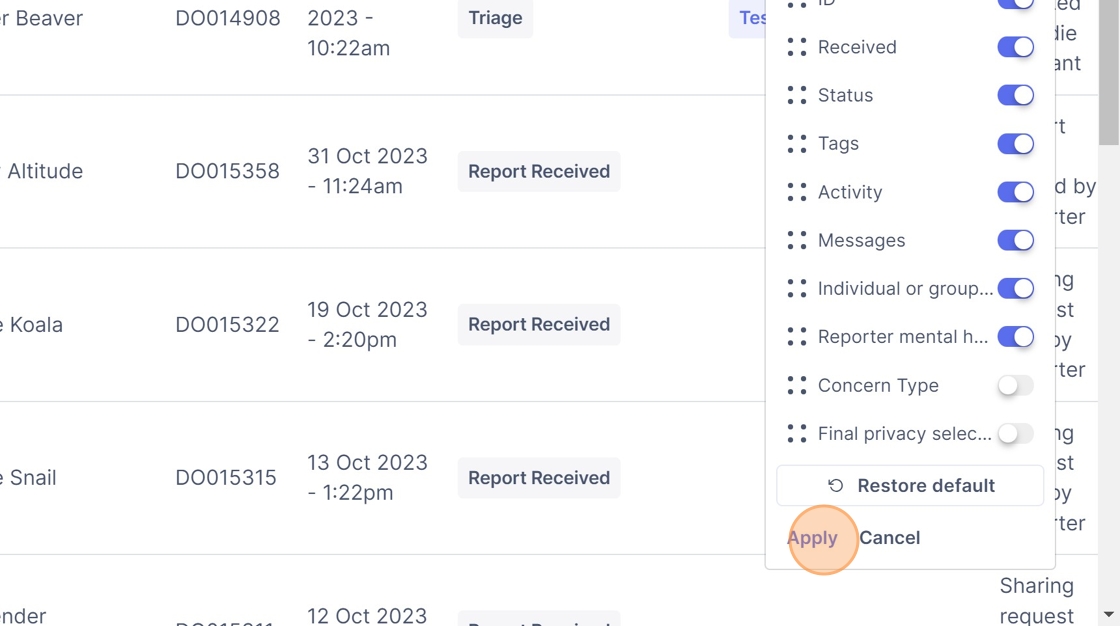
How to edit the columns displayed
2. Click the settings cog. Select the buttons next to the columns you would like to hide.
Tip: Tip! Buttons will appear grey when they are switched off.
3. Click "Apply"

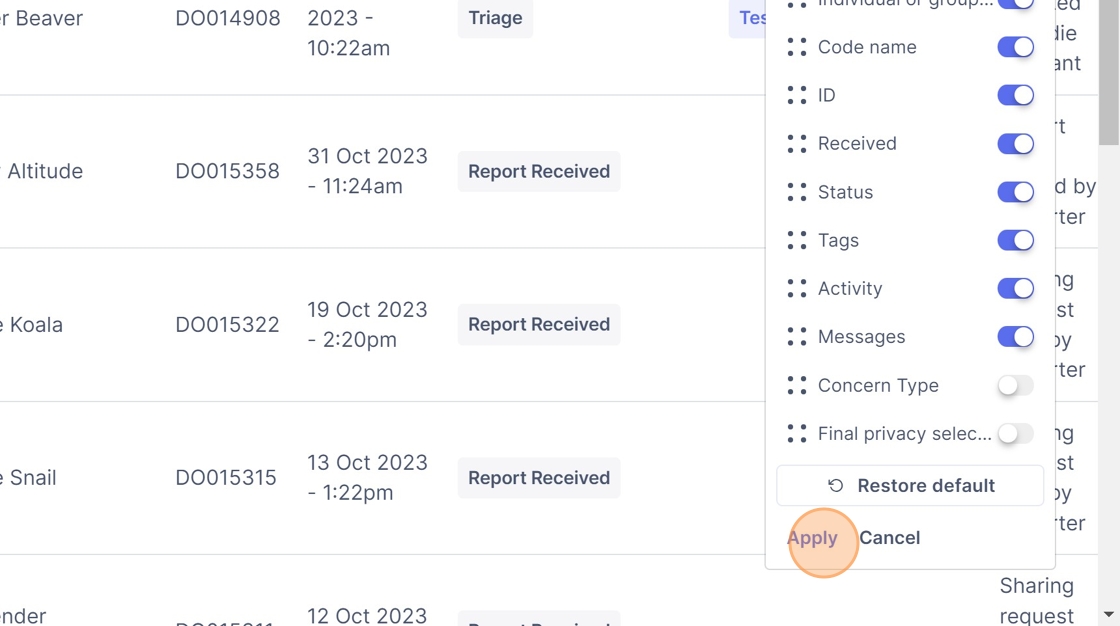
How to reset the report columns
4. Click the settings cog.

5. Click "Restore default"

6. Click "Apply"

How to add additional report columns
Alert: Alert! Scrolling across has limited ability, so make sure to only have as many columns selected as you can view on your screen.
7. Click on the settings cog.

8. Click select the additional report columns you'd like to display.

9. Click "Apply"
How to re-order the displayed columns
10. Click the settings cog.

11. Select and hold down the : : button, and drag the column title to your desired location in the list.

Tip: Tip! Column titles at the top of the list are displayed "first" on the left of your screen, and columns at the bottom of the list
12. Click "Apply"
How to filter reports displayed - general
Tip: Tip! This first example shows how to filter by report level, however the same steps can be applied to status, tags, pathway, types and recipients.
13. Click on the button of report value you'd like to filter by.

14. Select the option you'd like to filter by.

15. The reports page will now only display any reports with the filter value you have selected. In this case, it will only display reports which are tagged as "Needing action".
How to reset the display filters
16. Click "Clear filters"

How to filter reports displayed - by time frame
17. Click the blue filter button on the right. (It will have the name of the time frame which is currently being filtered by)

18. Select the time frame you'd like to filter by. E.g. by selecting last quarter, all reports placed in the last quarter will display.
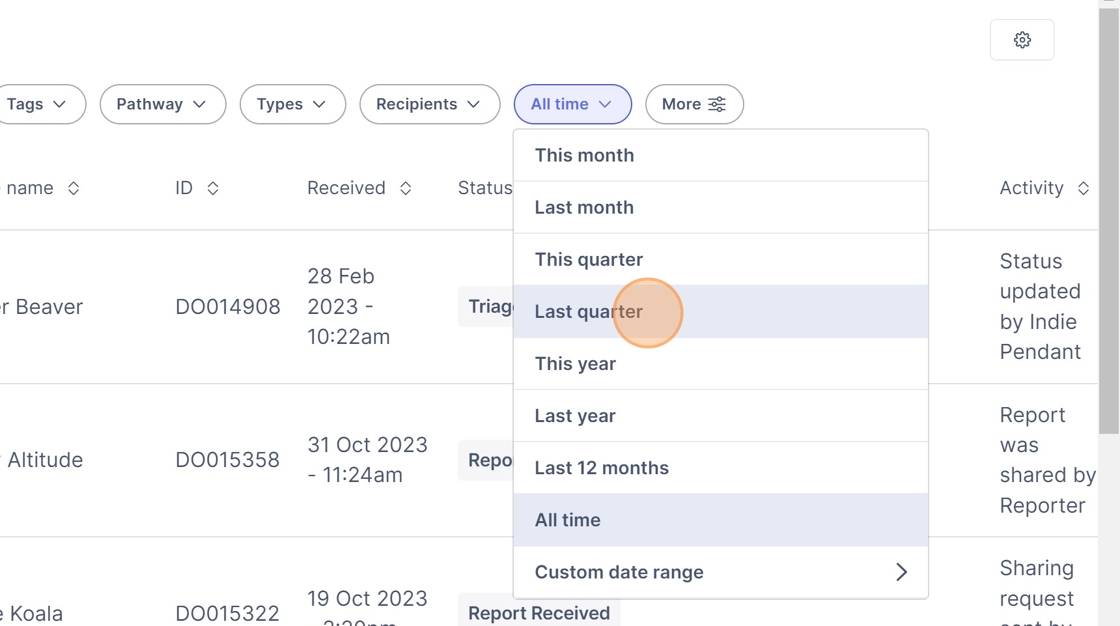
Alert: Alert! Make sure to reset the time filter to "All time" when you wish to see all reports ever placed on the Elker.
How to filter reports displayed - custom
19. Click the more button.

20. Click on the report value you'd like to filter by.

21. Click on the buttons next to the options you'd like to display.

Tip: Tip! You can filter by mutliple different report values at a time. You can do this all at once and then click apply.
22. Click "Apply"

Tip: Tip! You can also filter by mutliple different report values by selecting the custom filter again and adding them in.
23. Click the second blue button. (It will display the number of filters currently applied)
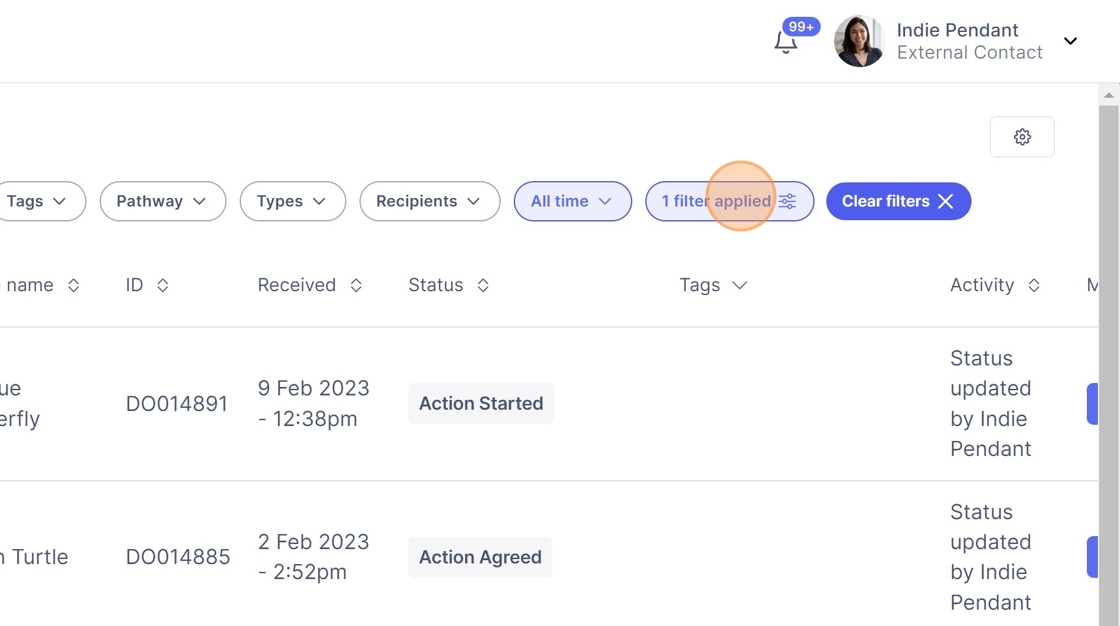
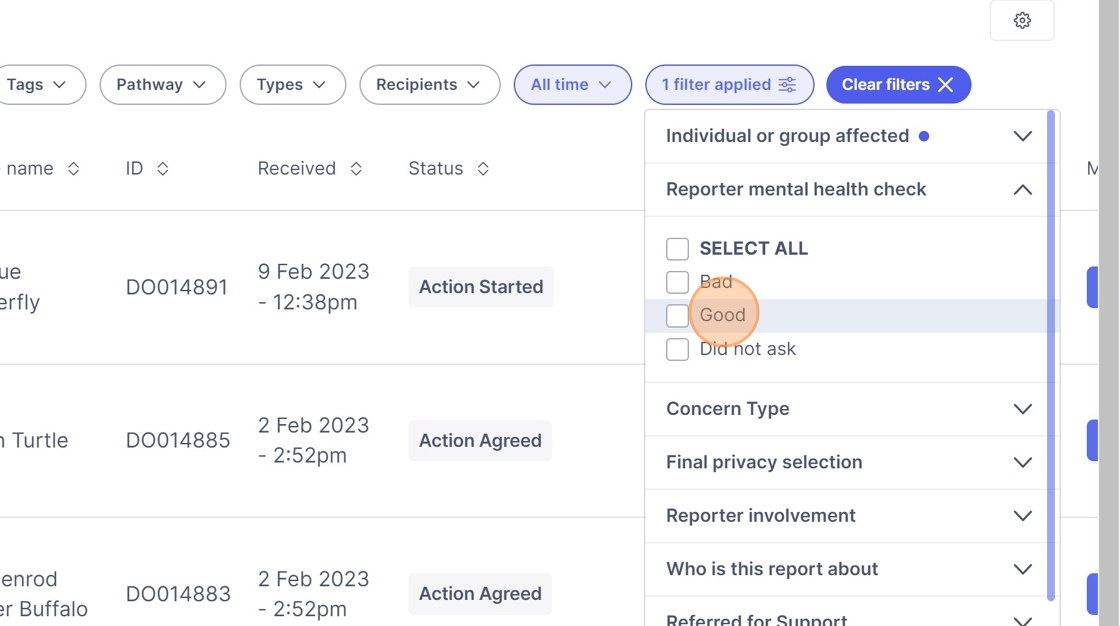
24. Click on the report value you'd like to filter by.

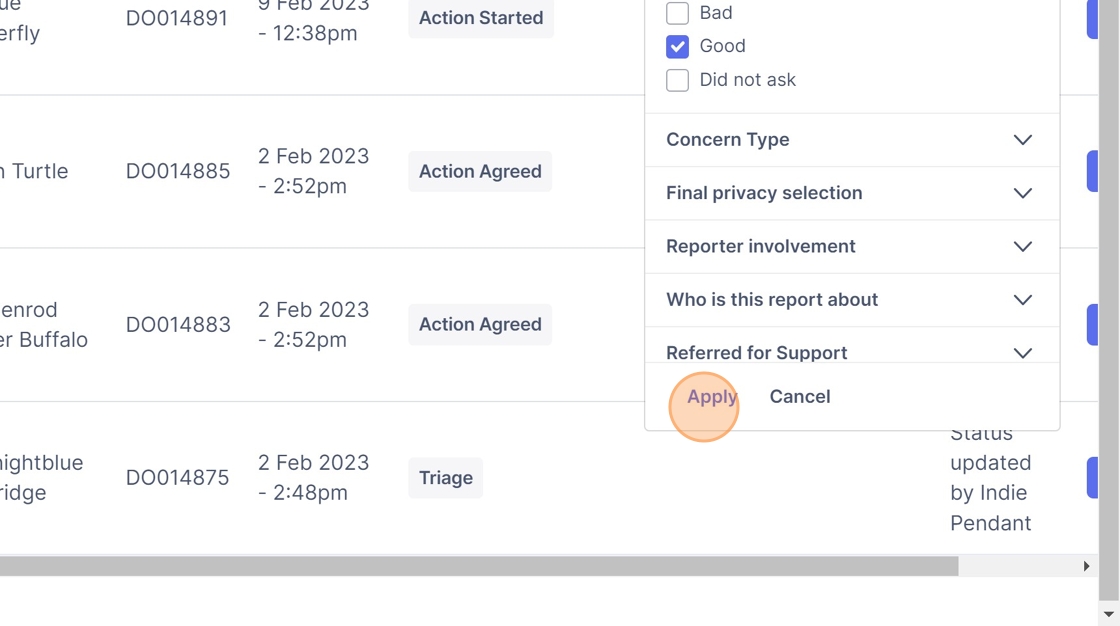
25. Click on the buttons next to the options you'd like to display.
26. Click "Apply"
Alert: Alert! Remember to clear the custom filters before your next general search.
27. Click "Clear filters"

How to filter reports displayed - by recipient
Tip: What does this mean? By filtering by recipient, you are viewing all reports sent to that person. E.g. By filtering by Arya Lee, you see all reports allocated to her.
28. Click "Recipients"

29. Click the desired team member(s).

30. Well done!