How to Export Analytics to PDF
1. Navigate to https://[yourcompany].elker.com/
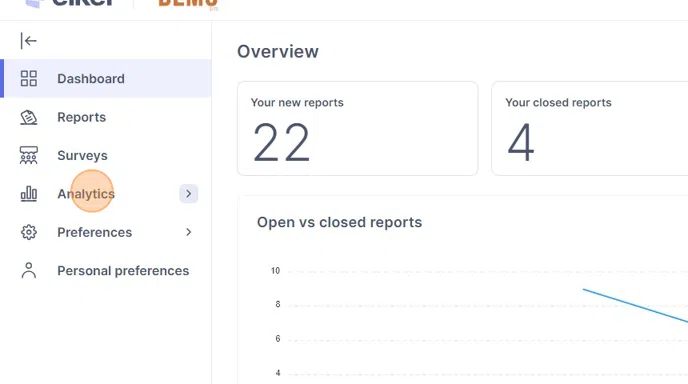
2. Click "Analytics"
Click "Overview"
3. Click "Export or Print"

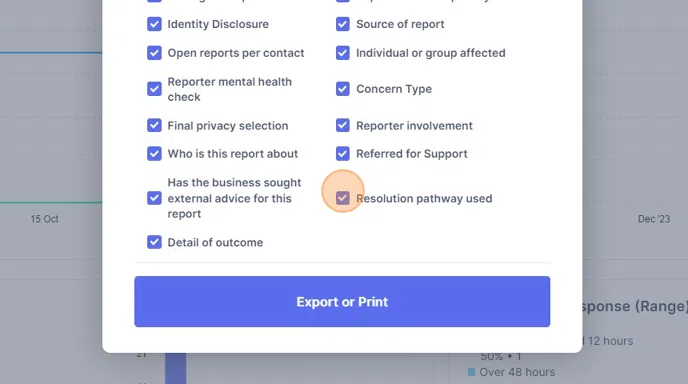
4. Deselect any report attributes you don't want to export.
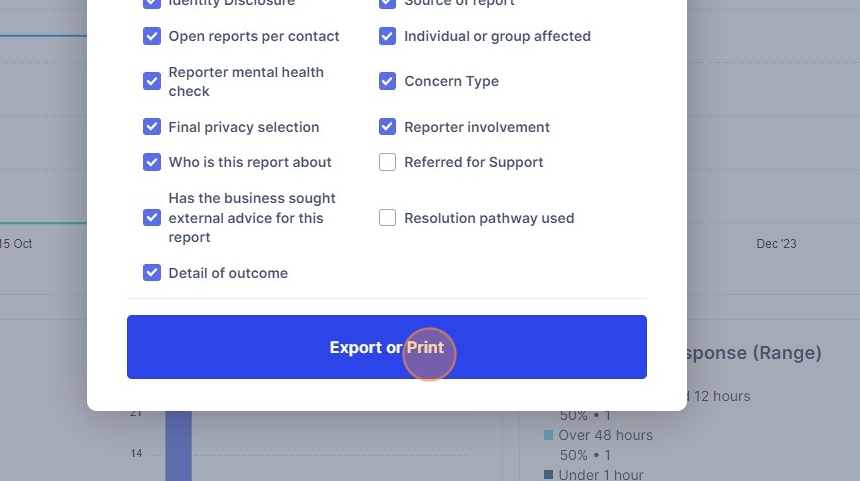
5. Click "Export or Print"
6. Ensure the printing destination is set to "Save as pdf", and select "Save"

Alert: Alert! This printing dialogue may look different for you. Make sure the settings are to "Save as pdf" and not to "Office Printer 2" etc.
Alternative way to select report attributes to export
7. Click "Export or Print"

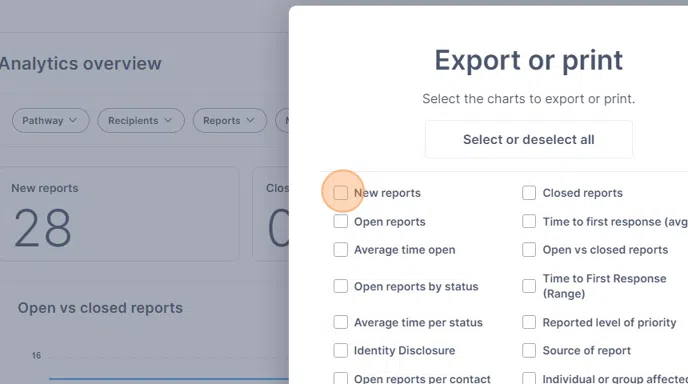
8. Click "Select or deselect all"

9. Now that all report attributes are deselected, select only the ones you wish to export.
10. Click "Export or Print"

Tip: Tip! The printing dialogue will appear again, select "Save as pdf", and then "Save".
How to filter analytics before exporting - time frame
11. Click "This quarter"

Alert: Alert! A common mistake is to have the shortest most recent time frame selected, and be concerned that not many reports are showing.
12. Click your preferred time frame.

Tip: Tip! You can also filter by custom date ranges by selecting the last option and entering your dates.
13. Mission complete!

How to filter analytics before exporting - custom attributes
14. Click "More"

15. Click your custom report attribute header

16. Click the report attribute choice you'd like to filter by

Tip: Tip! You can select mutliple different report attribute headers and choices. E.g. Filter by reports affecting individuals, with a legal concern type.
17. Click "Apply"

How to filter analytics before exporting - report status
18. Click "Reports"

19. Click the report open/closed status you'd like to filter by

How to filter analytics before exporting - inbox selection
20. Click "Recipients"

21. Click the name of the front facing contact you'd like to filter by. You will see reports sent only to this contact.

How to filter analytics before exporting - reporting pathway
22. Click here.

23. Click the reporting pathway you'd like to see analytics for.

How to clear filters
Tip: Tip! A common mistake is to not clear your filters, leading to odd analytics displaying.
24. Click "Clear filters"
