Setting up Task Templates & Automations
Task management in Elker has two parts: Task Templates - define the checklist of actions (what needs to be done, by whom, and when). Automations - tell the system when to create those tasks on a report and how to notify people about them.
Create a Task Template Group
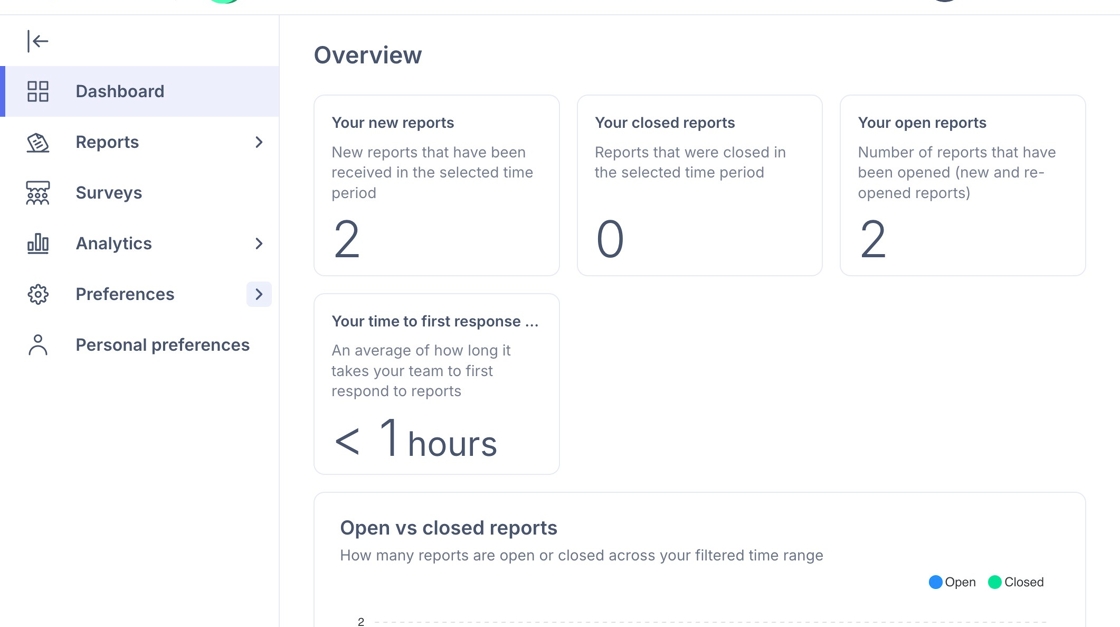
1. Navigate to your admin site.
2. Click Preferences , scroll down to Configuration and Click "Task Templates".
Click 'Create New' to create a new Task Group.

3. Type the name of the group e.g. 'Follow Up' and Click "Create".

Add Template Tasks to the Group
4. Click on the Task Template group e.g. "Follow Up" here.

5. Click "Add Template".

6. Here you can add a specific task that needs to be completed within this group. You will need to fill in:
Title: Keep this action-oriented
Description: what success looks like
Due in: This is relative to the report creation date
Assignee: pick Case owner, Case contact or a specific contact
Required to close report: toggle ON if it must be completed before closing

7. Click "Create Template"

Automation A: Auto-Create Tasks When a Report is Submitted
Tip: Tip! Use this to make sure every new report starts with the same checklist. It standardises follow-up steps so nothing gets missed and saves case managers from creating tasks manually.
8. Under Configuration, Click Automations and click the button to 'Add automation'.

9. Select a Trigger event for the automation. E.g. "Report submitted".

Tip: Tip! You can add Conditions to your task automation so that tasks are only added to certain report types (eg. You may only want a task template to be added to a Speak Up report and not a Whistleblower report). Click here to view the guide about Automation conditions.
10. Under 'Action to take', choose what the system should do when the trigger occurs. An action is the outcome the automation performs. In this case we want to 'Create report tasks' which will add a predefined task template group to a report.

11. We then need to pick which Task Template Group to use.

12. Click "Save"

Automation B: Set Up Task Due Notifications
Tip: Tip! Use this to remind owners and assignees about upcoming or overdue tasks. It keeps reports moving, prevents bottlenecks, and helps the team stay on top of deadlines.
13. After clicking 'Add Automation' you will be given the dropdown to choose a Triggering Event.
A trigger is the condition that tells the system when to act. In this case we want this to be 'Report Submitted' i.e. when a new report is created in the system.

14. You can then choose when you want to trigger the automation i.e. how long before the 'event' is due.

15. Next select the Action to take, here we want to select 'Notification'. You can then choose the type of notification. Select 'Send an Email' to set up an email alert.

16. Select the relevant recipients for this notification. You can select more than one.

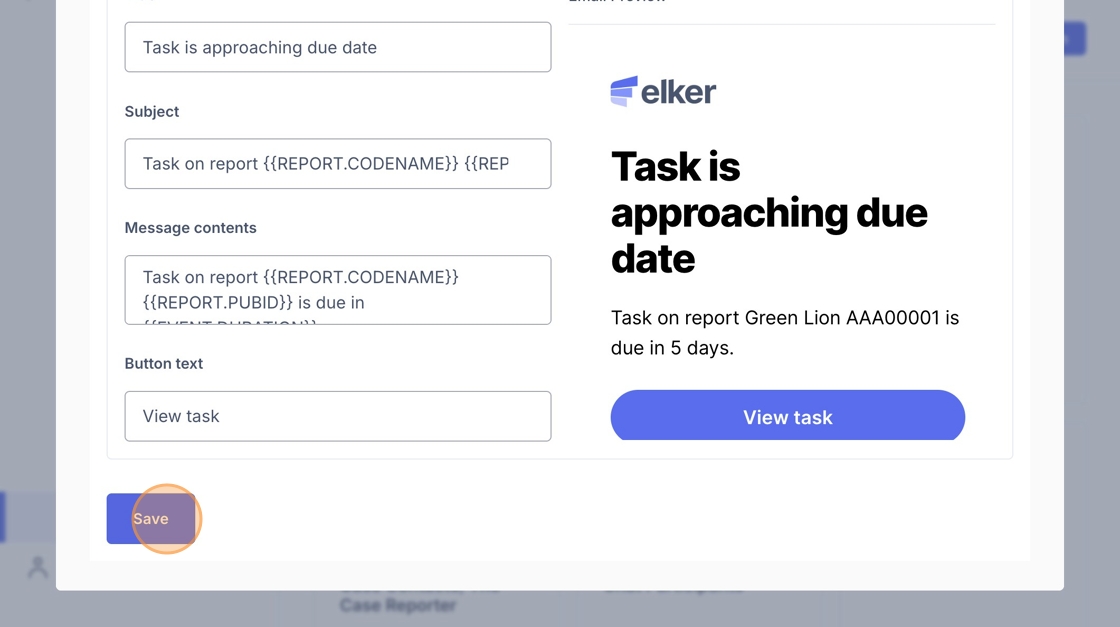
17. - You you can customise the email notification:
-
Title: internal label for the automation
-
Subject: the subject line of the email (note: available tags can be seen in the top right of the window)
-
Message contents: the body of the email (you can use dynamic tags such as report ID, task name, or due date)
-
Button text: the call-to-action shown in the email (e.g., “View task”)
-
On the right hand side, you will see a live preview of the email as it will appear to recipients
Click "Save" when finished.